Plugin rfxbnz
Purpose
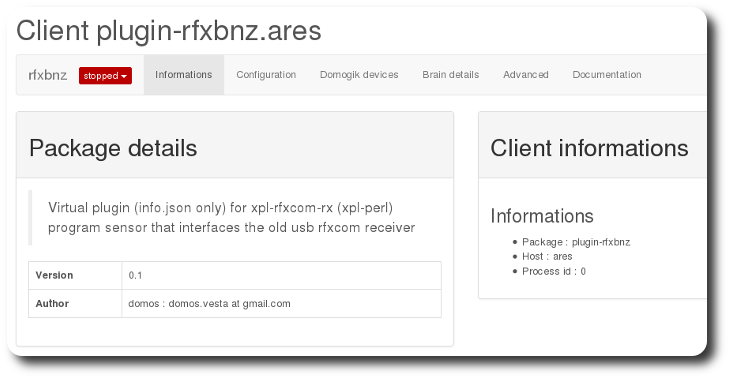
The rfxbnz plugin is used to handle xPL messages sent by xPL clients xpl-rfxcom-rx of lib xpl-perl interfacing the old usb rfxcom receiver.

The rfxbnz plugin contains only the description of the xPL messages to catch and so there is nothing to start/stop and nothing to configure.
You just have to install the plugin, check it is present in the clients list and create some devices.
Note
You must see your xpl-rfxcom-rx clients in the clients list as xPL clients. If you don’t see them, it means that the xPL hub doesn’t see them and so the plugin won’t be able to catch the xPL messages.
This “virtual” plugin (info.json only) can cath this message type:
- sensor.basic (Oregon / OWL sensor)
- x10.basic (X10 RF or old Chacon emitter)
- homeeasy.basic (Chacon / DIO RF emitter)
- remote.basic (ATI RF remote)
Example of xPL messages send by the bnz-rfxcom-rx program :
xpl-trig { hop=1 source=bnz-rfxcomrx.jdom target=* } sensor.basic { device=thgr228n.de type=temp current=21.4 }
xpl-trig { hop=1 source=bnz-rfxcomrx.jdom target=* } sensor.basic { device=thgr228n.de type=humidity current=46 string=comfortable }
xpl-trig { hop=1 source=bnz-rfxcomrx.jdom target=* } sensor.basic { device=thgr228n.de type=battery current=90 units=% }

xpl-trig { hop=1 source=bnz-rfxcomrx.jdom target=* } x10.basic { command=on device=d1 }
xpl-trig { hop=1 source=bnz-rfxcomrx.jdom target=* } x10.basic { command=on device=m8 }
xpl-trig { hop=1 source=bnz-rfxcomrx.jdom target=* } x10.basic { command=off device=m8 }

xpl-trig { hop=1 source=bnz-rfxcomrx.jdom target=* } homeeasy.basic { address=0x94339a unit=1 command=on }
xpl-trig { hop=1 source=bnz-rfxcomrx.jdom target=* } homeeasy.basic { address=0x94339a unit=0 command=off }
xpl-trig { hop=1 source=bnz-rfxcomrx.jdom target=* } homeeasy.basic { address=0x94339a unit=2 command=on }

xpl-trig { hop=1 source=bnz-rfxcomrx.jdom target=* } remote.basic { keys=5 device=ATI_Remote }
xpl-trig { hop=1 source=bnz-rfxcomrx.jdom target=* } remote.basic { keys=6 device=ATI_Remote }
xpl-trig { hop=1 source=bnz-rfxcomrx.jdom target=* } remote.basic { keys=right device=ATI_Remote }
You can check if a xPL message is received on Domogik side by launching the dmg_dump tool.
Dependencies
There is no dependency.
Plugin configuration
There is nothing to configure.
Create the domogik devices
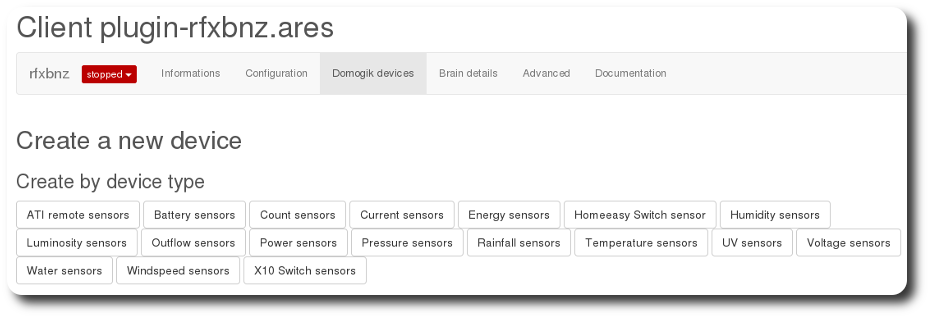
Create device by device type
There is different sensors devices type:
- basic sensors: Temperature, Humidity, Luminosity ...
- x10 swith
- homeeasy switch
- ATI remote keys
One parameter are needed for a basic sensor, x10 switch and remote domogik device creation:
| Key | Type | Description |
|---|---|---|
| device | string | xPL device parameter (Ex.:thgr228n.de , d3, ATI_Remote) |
Two parameters are needed for a homeeasy domogik device creation:
| Key | Type | Description |
|---|---|---|
| address | string | xPL device parameter (Ex.:0x94339a) |
| unit | string | xPL device parameter (Ex.:2) |
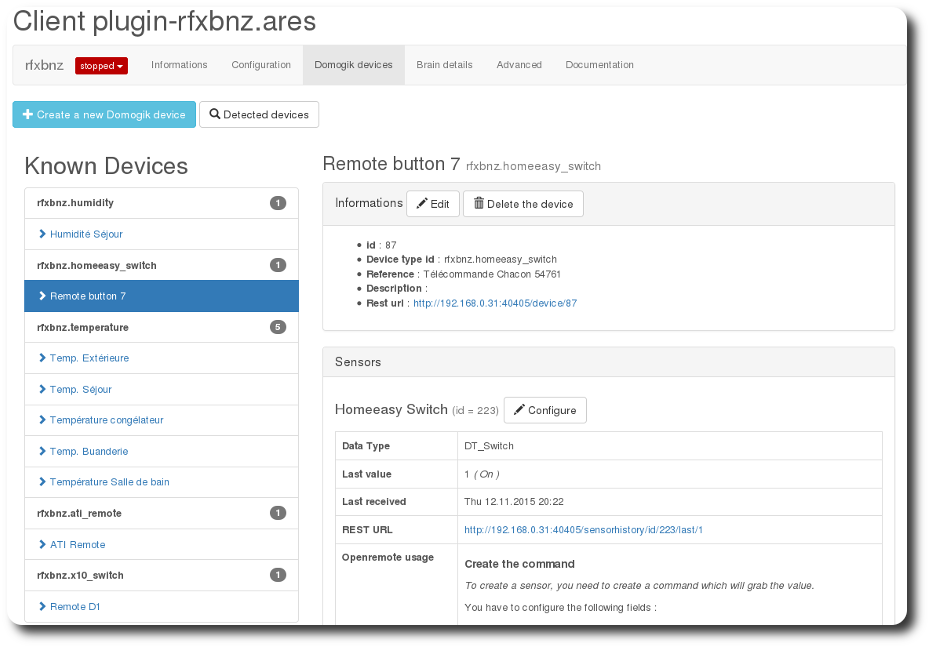
Some rfxbnz device created:
Set up your widgets on the user interface
You can now place the widgets of your devices features on the user interface.